How to Install a Screen Protector Bubble-Free
Bubbles and dust specks are the two biggest reasons people avoid DIY protectors. With the right setup and method, you can get a clean, edge-to-edge install at home in minutes. Here’s the exact process.
What’s in an iCatchy kit
Most iCatchy protectors include:
-
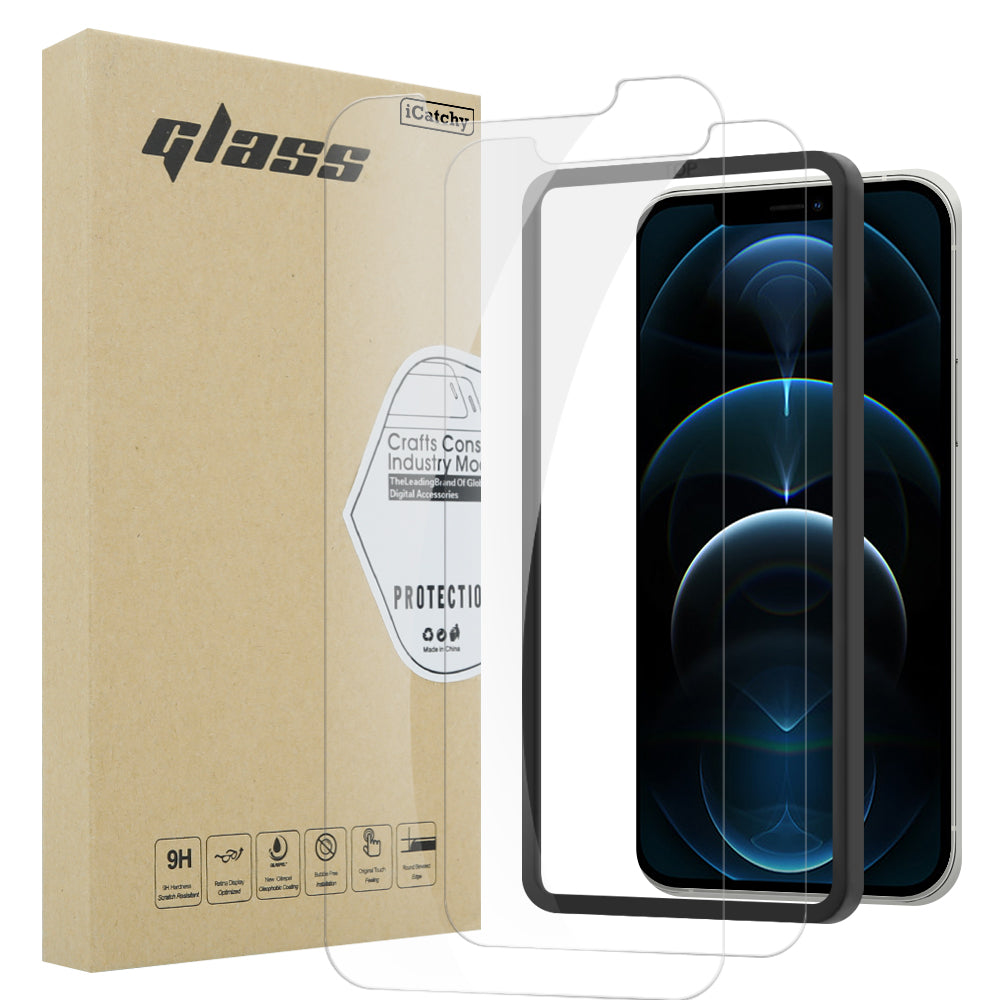
Tempered glass (9H) with 3D rounded edges or full-coverage black border (as on the iPhone 13 option).
-
Alcohol wipe (#1) and dry cloth (#2).
-
Dust-removal stickers and a squeegee card (clearly shown in the S21 FE kit image).
-
Some packs are 2-Pack (e.g., Moto G50), giving you a practice attempt or a spare for later.
Full-coverage glass looks seamless, but if you use tight cases, consider a case-friendly cut to avoid edge lift.
Prep the room (the anti-dust trick)
-
Pick a well-lit, low-dust space. A bathroom after a warm shower works (moisture settles dust—just ensure surfaces are dry).
-
Wash and dry your hands.
-
Lay out everything: protector, wipes, cloth, stickers, squeegee, and (if needed) a few pieces of regular tape.
Method 1: Alignment frame / direct drop (quickest)
Use this if your protector includes a frame or is precisely cut (like the S21 FE Premium Tempered Glass with a full accessory kit).
-
Power off the phone (reduces static and helps you spot dust).
-
Clean the screen with the #1 alcohol wipe, dry with #2 cloth.
-
Inspect from different angles; dab away specks with a dust sticker.
-
If there’s an alignment frame, fit it now.
-
Peel the backing film from the glass—avoid touching the adhesive.
-
Align from one short edge and let it “float” down. Don’t force it.
-
Press the centre gently; adhesion will spread.
-
Work around the edges with the cloth/squeegee to push out micro-bubbles.
Method 2: Hinge method (perfect for phones without frames)
This is ideal for kits like the Galaxy A12 or Moto G50 2-Pack.
-
Place the glass on the screen to test alignment (check camera/earpiece cut-outs).
-
Tape one long edge of the glass to the phone—creating a “book hinge.”
-
Flip the glass open, deep clean again, remove any final dust.
-
Peel the backing and close the hinge slowly, letting the glass lay itself down.
-
Press the centre, then the edges, and squeegee out air.
Tip: The 2-Pack Moto G50 gives you a stress-free first attempt. Use the second sheet once you’ve mastered the motion.
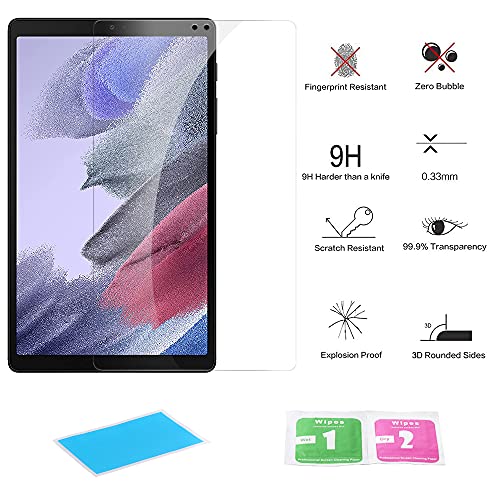
Tablets need extra care (Galaxy Tab A7 Lite)
Large screens attract more dust and trap bigger air pockets. For the Tab A7 Lite Premium Tempered Glass:
-
Work on a flat table; keep pets/fans away.
-
After cleaning, place the long edge first and squeegee as you lay the glass to chase air towards the opposite edge.
-
If your kit includes a guide film or more stickers, use several “mini hinges” along the top edge to keep alignment perfect end-to-end.
Special notes for full-coverage glass (iPhone 13)
The iCatchy iPhone 13 Full Coverage sheet has a black border and 3D rounded edges:
-
Align using the notch/earpiece and frame edges—precision matters more than with clear-edge glass.
-
If you use a tight bumper case, fit the case after 30–60 minutes to avoid lifting the curved edges.
Bubble & dust troubleshooting
-
Micro-bubbles the size of a pinhead often disappear within 24–48 hours as the adhesive cures.
-
Dust dot trapped? Lift the nearest corner just enough, dab the speck with a dust sticker, and lay it back down.
-
Edge lift with a case: choose a case-friendly protector next time or ensure the case isn’t pressing the glass edge.
After-install care
-
Wait 30 minutes before pocketing or casing up; avoid moisture for a few hours.
-
Re-register fingerprints; recognition improves after a fresh install.
-
Clean with a soft microfibre only—no harsh chemicals.
Common mistakes (and how to avoid them)
-
Rushing the clean: 90% of bubbles are dust. Take two minutes to inspect at multiple angles.
-
Touching the adhesive: Oils create permanent marks. Always hold the glass by the edges.
-
Installing under a ceiling fan: Airflow = airborne lint. Turn fans off.
-
Forcing the glass down: Let it float and self-adhere; you only guide it.
Quick picks by scenario
-
Fast, kit-assisted install: Samsung Galaxy S21 FE Premium Tempered Glass (lots of accessories to make the job fool-proof).
-
Practice + spare sheet: Motorola Moto G50 Premium 2-Pack (great for first-timers).
-
Budget and basics: Samsung Galaxy A12 Premium Tempered Glass (clean + hinge method works brilliantly).
-
Edge-to-edge look: iPhone 13 Full Coverage (align precisely; stunning seamless finish).
-
Large display: Galaxy Tab A7 Lite (squeegee as you go to avoid trapped air).
FAQ
Does tempered glass feel different from the bare screen?
Quality 9H glass keeps that glass-like glide with an oleophobic coating. It’s the closest feel to stock.
Can I reuse a tempered glass protector?
No. Once removed, the adhesive is compromised—reusing almost guarantees dust and bubbles.
Will the protector affect my camera or sensors?
Model-specific cuts avoid sensors. Clean the earpiece/camera area during install and you’re good.
What if I still end up with bubbles?
Tiny ones usually clear on their own. For larger ones, lift the nearest corner a few millimetres, dust-sticker the culprit, and smooth down again.
Bottom line
If you’ve wondered how to install screen protector sheets without bubbles, the secret isn’t magic—it’s room prep, alignment method, and patience. Use the frame method when you have it (hello, S21 FE kit), the hinge method when you don’t (perfect for A12 or Moto G50 2-Pack), and the squeegee-as-you-lay technique for bigger panels (Tab A7 Lite). iCatchy’s precisely cut 9H glass with complete cleaning kits makes clean installs simple—and replacement-friendly when you want a fresh sheet.


